
This guide rounds up the 10 best ChatGPT photo editing prompts for girl creators everywhere are copying right now, from soft Pinterest glow to Barbiecore pink and cinematic black-and-white portraits. Every prompt is ready to copy and paste straight into ChatGPT, and we’ve included a simple step-by-step section so you can start editing your own photos in minutes, even if you’ve never used an AI image tool before.
Scroll through Instagram or Pinterest for more than thirty seconds and you’ll spot it: dreamy, editorial-looking portraits that don’t quite look like a normal camera filter. They’re too polished, too stylized, too “shot on a movie set” to be a regular selfie edit. That’s because most of them aren’t made in a photo app at all – they’re made with AI, using nothing more than a well-written text prompt.
ChatGPT’s image generation and editing tools have quietly become one of the most popular ways to transform an ordinary photo into something that looks like it was styled by a professional photographer. You upload a picture, type a prompt describing the look you want, and within seconds you get a reimagined version with new lighting, color grading, styling, or an entirely different aesthetic. It’s fast, it’s free to try, and it doesn’t require Photoshop skills.
What’s driving the trend is a growing library of Girl photo editing prompts that people are sharing and reusing across social platforms – everything from soft “clean girl” glow-ups to bold retro film looks. The best part is that you don’t need to write these prompts from scratch. Below, we’ve collected ten of the most-copied, most-trending prompts of the moment, each one ready to paste directly into ChatGPT. After that, we’ll walk through exactly how the editing process works, step by step, so you can try it yourself today.
Trending Prompts for Girl Photo Editing
Each prompt below is written to work with a photo you upload into ChatGPT. Simply attach your image, paste the prompt exactly as written (or tweak the details to match your own style), and let the AI do the rest. We’ve mixed soft, glam, retro, and artistic styles so there’s something for every mood and every occasion.
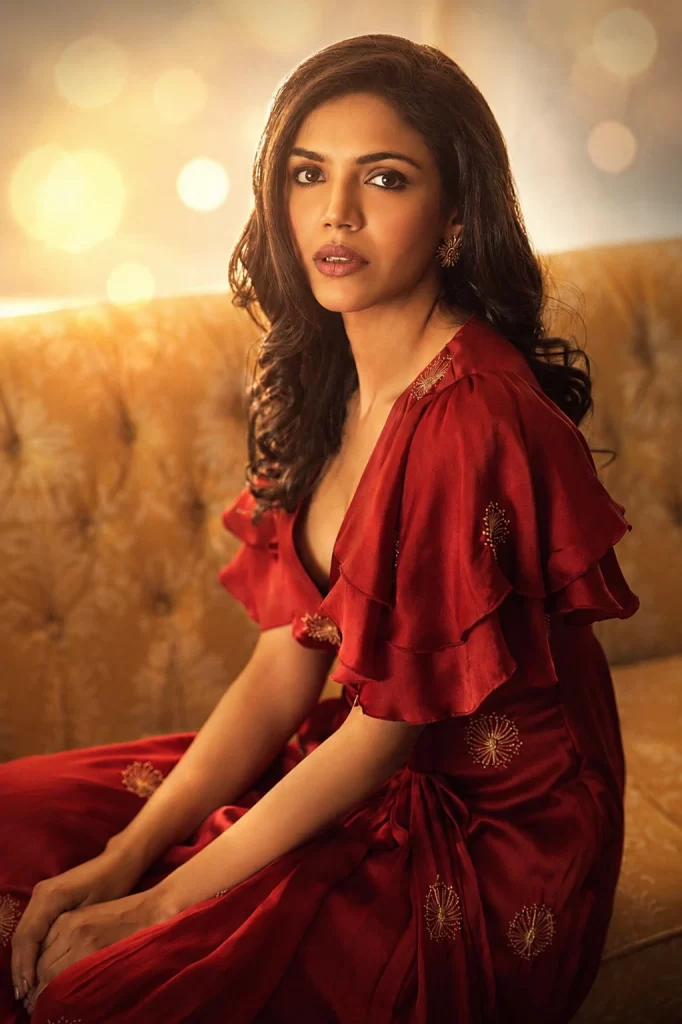
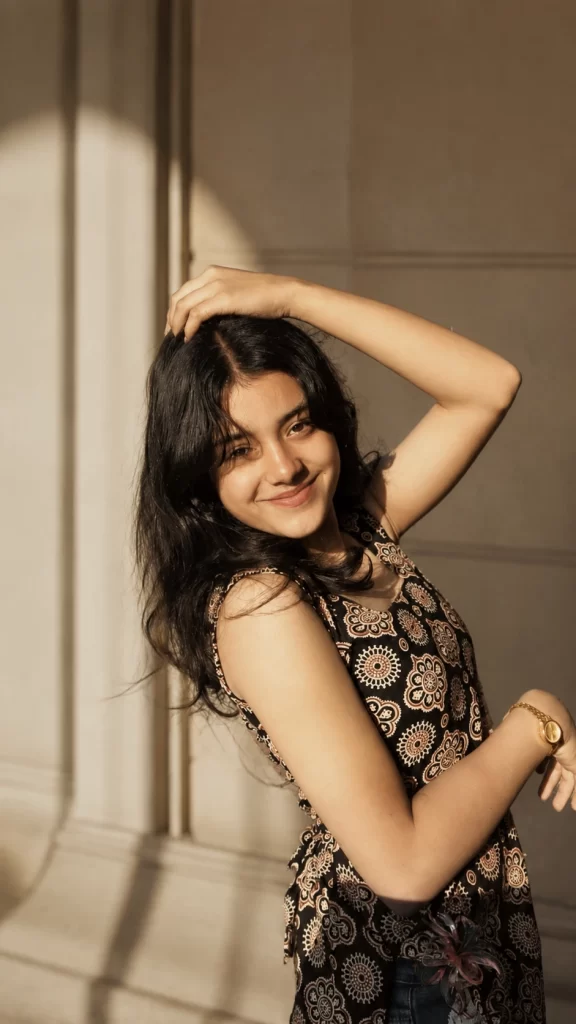
1. Pinterest Aesthetic Glow
Using the uploaded photo, create a soft Pinterest-aesthetic edit. Apply warm golden-hour lighting coming from a low angle, a gentle natural glow on the skin (not glossy or plastic), a softly blurred background with subtle bokeh circles, and a warm pastel color grade with lifted shadows and creamy highlights, similar to a Fujifilm-style editorial photo. Add light film-like texture and a barely-there vignette at the corners. Do not change the framing, pose, outfit, or background objects — only adjust lighting, color, and mood. Keep the uploaded image’s face shape, eye color, nose, lips, jawline, skin tone, and hair texture and color 100% realistic, natural, and unaltered — this should look like a professionally lit photo of the same real person, not an AI-generated face.
2. 90s Film Grain Portrait
Using the uploaded photo, recreate it in the style of a 1990s disposable camera photograph. Add authentic 35mm film grain, slightly faded and desaturated colors, a warm yellow-orange vintage tint, mild motion softness, a visible flash-style highlight if the lighting suggests it, and a soft dark vignette around the edges. Keep the composition, pose, and background exactly as in the original photo. Do not smooth or airbrush the skin — real film photos show natural texture. Keep the uploaded image’s facial structure, skin tone, freckles or marks, hair color and texture, and overall likeness fully realistic and unchanged, so the person is clearly and accurately recognizable.
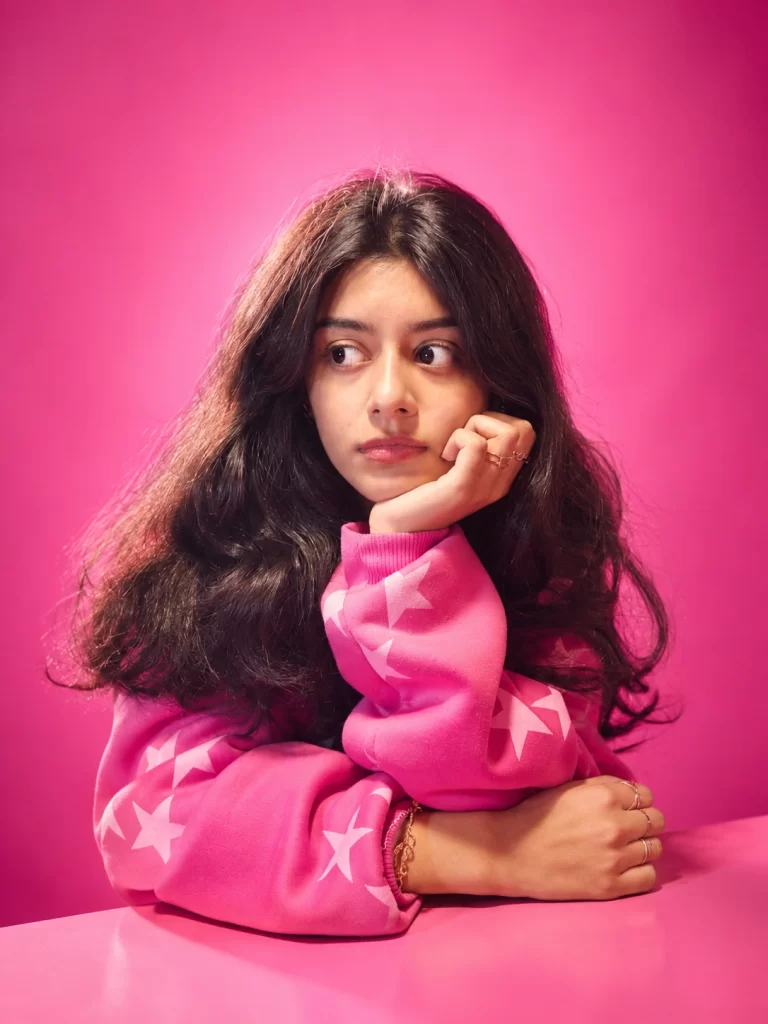
3. Barbiecore Pink Dream
Using the uploaded photo, restyle it with a bold Barbiecore aesthetic. Replace the background with a bright pink or magenta-to-fuchsia gradient studio backdrop, add clean glamorous studio lighting with soft catchlights in the eyes, a healthy dewy (not plastic or waxy) skin finish, and warm pink-toned color grading throughout the image. You may enhance outfit colors toward pink and magenta tones if it suits the original outfit. Keep the pose, framing, and body proportions from the original photo unchanged. Keep the uploaded image’s actual face shape, eye shape and color, nose, lips, skin tone, and hair fully realistic and true to the original — the final image must still clearly look like the same real person, just professionally styled and lit.
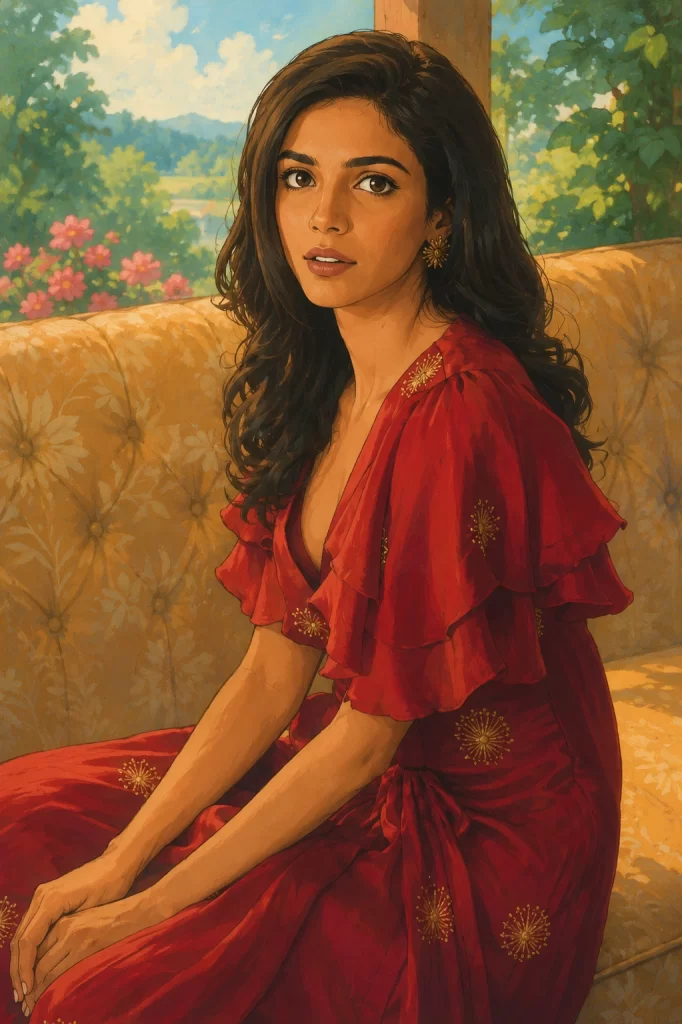
4. Studio Ghibli-Inspired Illustration
Using the uploaded photo, convert it into a hand-painted animated illustration inspired by classic Japanese animated films. Use soft visible brush-stroke textures, warm natural lighting with gentle color bounce, simplified but detailed shading, and a cozy, painterly background such as a garden, window light, or countryside scene that complements the original setting. Keep the same pose, camera angle, and outfit as the original photo. While this is a stylized illustration, keep the character’s face proportions, hairstyle, hair color, skin tone, and overall likeness closely and recognizably based on the uploaded photo — the illustrated version should still be identifiable as the same person, not a generic or different-looking character.
5. Old Money Editorial Portrait
Using the uploaded photo, create an old-money editorial-style portrait. Apply a neutral palette of beige, cream, and soft brown tones, soft directional light as if from a large window, minimal depth of field with a clean and elegant background (such as a plain wall, library, or neutral studio setting), and subtle film-like color grading with muted contrast, similar to a high-end magazine cover. Do not alter the pose, outfit style, or composition — only refine lighting, color palette, and background elegance. Keep the uploaded image’s face shape, skin tone, hair color and texture, and all natural facial features fully realistic and accurate to the original photo, with no distortion, face-swapping, or artificial smoothing.
6. Cyberpunk Neon Glow
Using the uploaded photo, apply a cyberpunk neon aesthetic. Light the face with dramatic dual-tone neon lighting — cool blue on one side and warm pink or magenta on the other — add a blurred futuristic city background with glowing signs and light streaks, include soft rim lighting along the hair and shoulders, and increase overall contrast with deep shadows for a moody, cinematic tone. Keep the original pose, framing, and outfit intact, only changing the lighting, background, and color mood. Keep the uploaded image’s actual facial structure, eye shape, skin tone under the colored lighting, and hairstyle fully realistic and unaltered, so the person remains clearly and accurately recognizable beneath the stylized lighting.
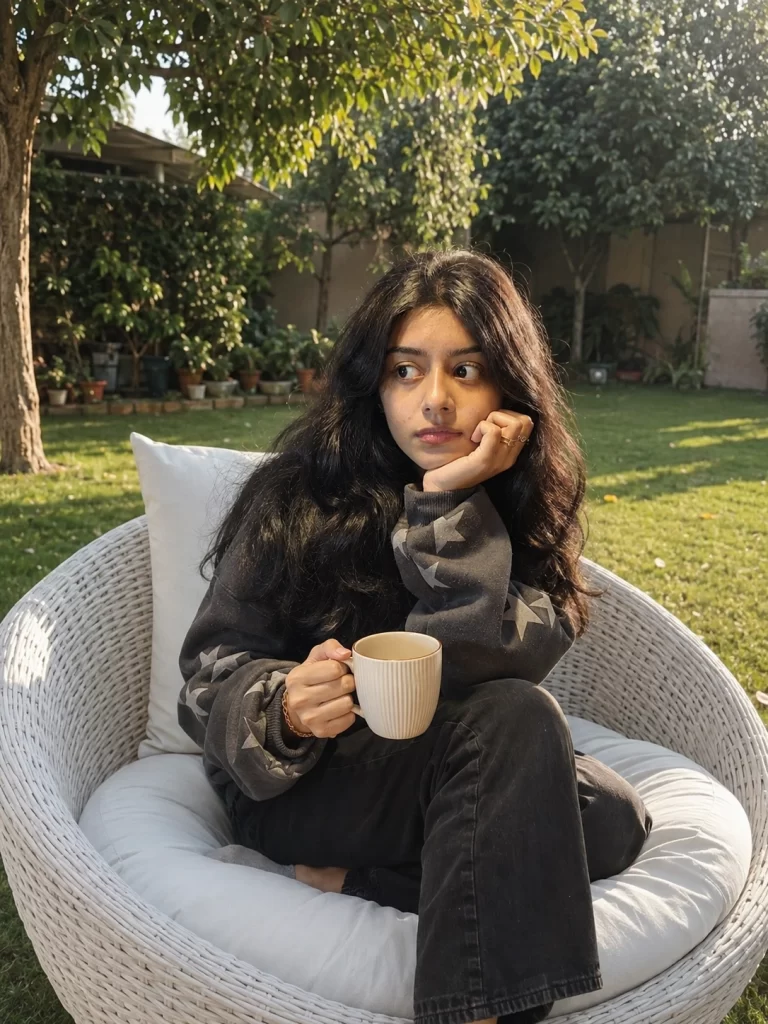
7. Backyard Luxury Chair Moment
Using the uploaded photo, place the person sitting comfortably on a white luxury outdoor chair (a modern rattan or upholstered lounge chair) set on a lush green backyard lawn. Add a relaxed, natural seated pose with one hand holding a coffee cup, soft morning or late-afternoon natural sunlight coming from the side, gentle shadows on the grass, and a softly blurred backyard background with hints of greenery, trees, or garden elements. Use warm, clean, lifestyle-editorial color grading with natural skin tones and soft contrast, similar to a high-end lifestyle magazine photo. Keep the outfit from the original photo unless it clearly needs to be extended to fit the seated pose. Keep the uploaded photo’s same face, skin tone, hair color and texture, and body proportions fully authentic and realistic — the final image must look like a genuine, natural photo of the same real person, not an AI-altered or different-looking face.
8. Soft Korean Ulzzang Style
Using the uploaded photo, apply a soft Korean ulzzang-inspired edit. Give the skin a natural dewy “glass skin” finish (hydrated and glowing, not overly smoothed or plastic), use soft diffused front lighting that minimizes harsh shadows, apply subtle pastel color tones in the background and clothing if appropriate, and keep the background minimal and clean, such as a soft neutral wall or blurred indoor setting. Do not change the bone structure, eye size or shape, or nose shape — only refine lighting, skin finish, and color tone. Keep the uploaded image’s real facial features, natural skin tone underneath the glow, and true hair color and texture fully intact, ensuring the result still looks authentically like the same person and not an artificially reshaped face.
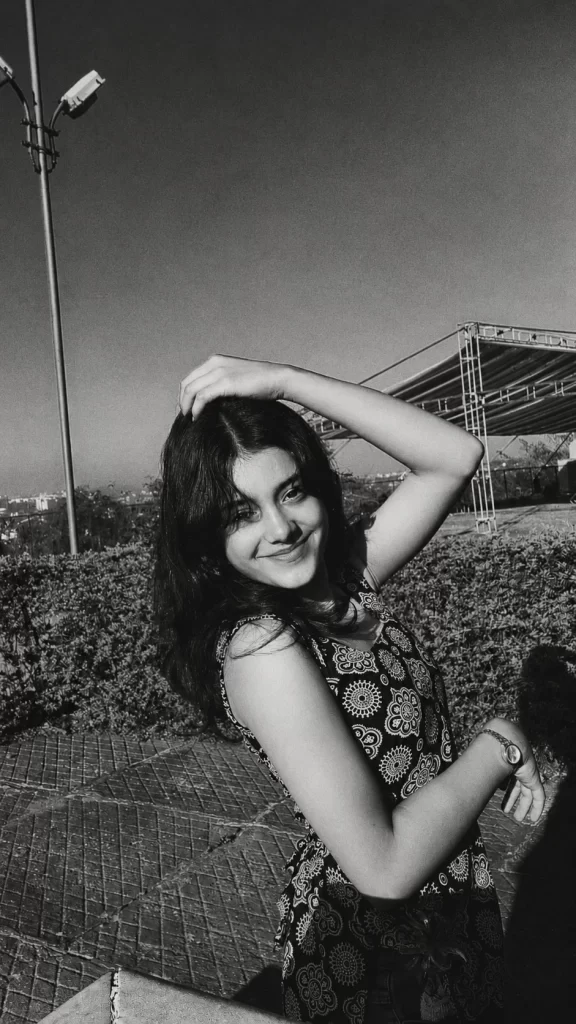
9. Black and White Cinematic Portrait
Using the uploaded photo, convert it into a black-and-white cinematic portrait. Apply strong tonal contrast with deep, rich blacks and bright, clean highlights, use soft directional lighting from one side of the face to create gentle shadow shaping, add fine film grain, and adjust the overall mood to feel like a still frame from a classic drama film. Keep the exact pose, expression, framing, and background layout from the original photo — only the color, contrast, and lighting mood should change. Keep the uploaded image’s facial structure, proportions, skin texture, and hair shape completely realistic and unaltered, so the portrait remains a true and accurate likeness of the real person in monochrome.
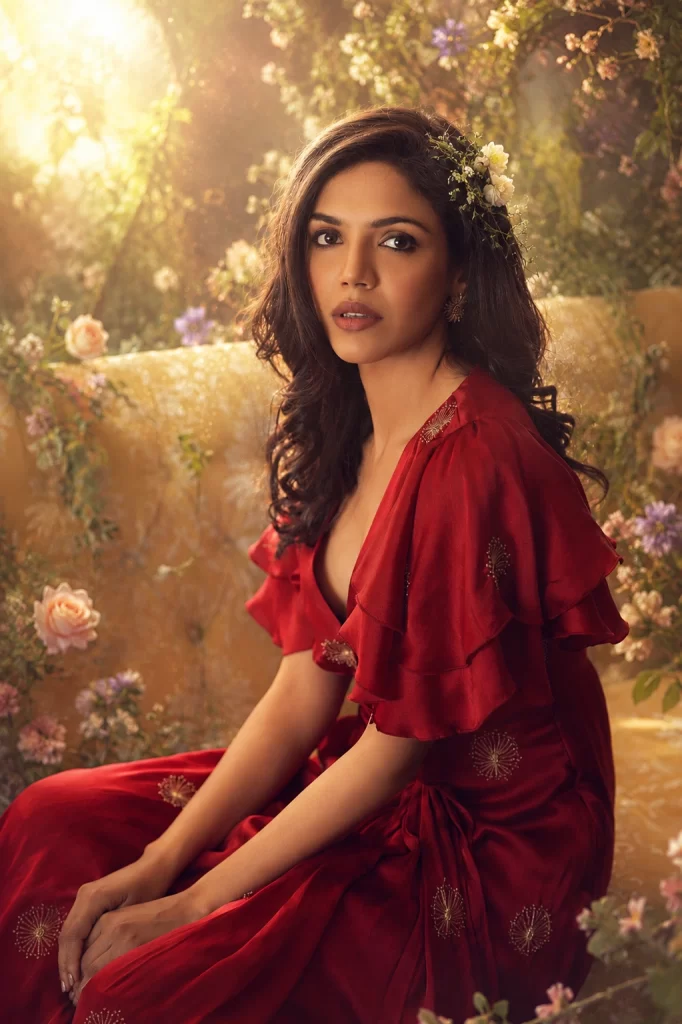
10. Fairycore Forest Dream
Using the uploaded photo, restyle it with a fairycore aesthetic. Add soft dappled sunlight filtering through trees, delicate flowers, leaves, or greenery woven naturally into the hair or background, a gentle warm golden rim light around the hair and shoulders, and an overall pastel-and-earthy color palette with a whimsical, slightly magical atmosphere. Keep the original pose, outfit, and framing from the uploaded photo, only enhancing the background, lighting, and color mood. Keep the uploaded image’s real face shape, skin tone, eye color, and natural hair color and texture fully realistic and unaltered — the final image should still look like a professionally styled photo of the same real person in a magical setting, not a fantasy character replacement.
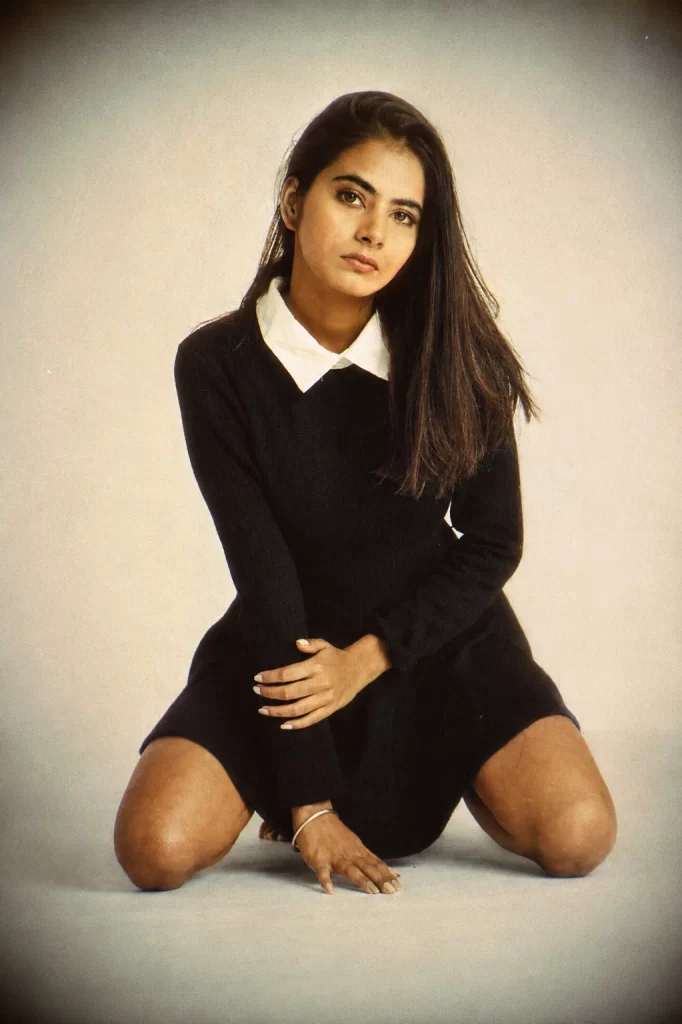
How to Edit Photo in ChatGPT
If you’ve never used ChatGPT for image editing before, the process is much simpler than it sounds. Here’s a complete step-by-step walkthrough:
- Open ChatGPT. Log into your account on the ChatGPT website or app. You’ll need an account that supports image uploads and image generation, which is available on most current versions of ChatGPT.
- Start a new chat. Click the “+” or “New chat” button to begin a fresh conversation, so previous instructions don’t interfere with your edit.
- Upload your photo. Click the attachment or image icon inside the chat box and select the photo you want to edit from your device. Use a clear, well-lit photo for the best results.
- Paste your chosen prompt. Copy any of the ten prompts above using the “Copy” button and paste it into the chat box, right below your uploaded image.
- Send the message. Hit enter or tap the send button. ChatGPT will process your photo and generate a new, edited version based on the style described in the prompt.
- Review the result. Once the image appears, take a look. If something isn’t quite right — too much change, wrong lighting, etc. – you can reply with adjustments like “make the lighting softer” or “keep more of the original background.”
- Regenerate if needed. Don’t love the first version? Simply ask ChatGPT to “try again” or “generate another variation,” and it will produce a new take on the same prompt.
- Download your edited photo. Once you’re happy with the result, click on the generated image and choose the download option to save it to your device.
- Mix and match prompts. Feel free to combine elements from two prompts, or tweak specific details like color palette, lighting, or background to make the edit fully your own.
That’s the entire workflow. There’s no need for extra apps, plugins, or editing experience – the description in your prompt does all the heavy lifting, and ChatGPT interprets it into a fully rendered image.
Pro tip: The more specific your prompt, the more consistent your results. Mentioning lighting, color tone, background, and mood (like the ten prompts above do) tends to produce far better results than a vague request like “make this pretty.”
Visit Also: Professional Photo Prompts for Women
Conclusion
AI-powered image editing has changed how people approach personal photography, and ChatGPT has become one of the easiest tools for turning an everyday snapshot into something that feels curated and polished. Whether you’re going for a soft Pinterest glow, a bold Barbiecore look, or a moody cinematic portrait, these ten Photo editing prompts for girl content creators are currently loving give you a strong starting point for your next post.
The best approach is to experiment. Try a few different prompts on the same photo, tweak the wording to match your personal style, and don’t be afraid to combine ideas from different looks. With just a photo and a well-written prompt, you can create scroll-stopping content without ever opening a professional editing app.
I am a seasoned blogger with over 10 years of experience in content writing. I specialize in creating engaging articles on festivals and events, sharing cultural insights, traditions, and celebration ideas with readers worldwide. My work focuses on delivering informative and easy-to-understand content that connects with diverse audiences.